In Nod, you can assign Rules to Content Assets to automate your content, making your document creation process much more efficient and simple.

Rules are assigned to determine the behaviour of a content asset they are attached to. They define when a content asset will or will not appear in a final document. This way you can automate the content in your documents to be flexible to the needs of your business.
Here is how to easily set up a rule in Nod:
- When editing or creating an asset, you will notice the 'Properties' tab in the right column.
- Click the green '+' beside 'create new rule', and a pop-up will appear to create your new rule.
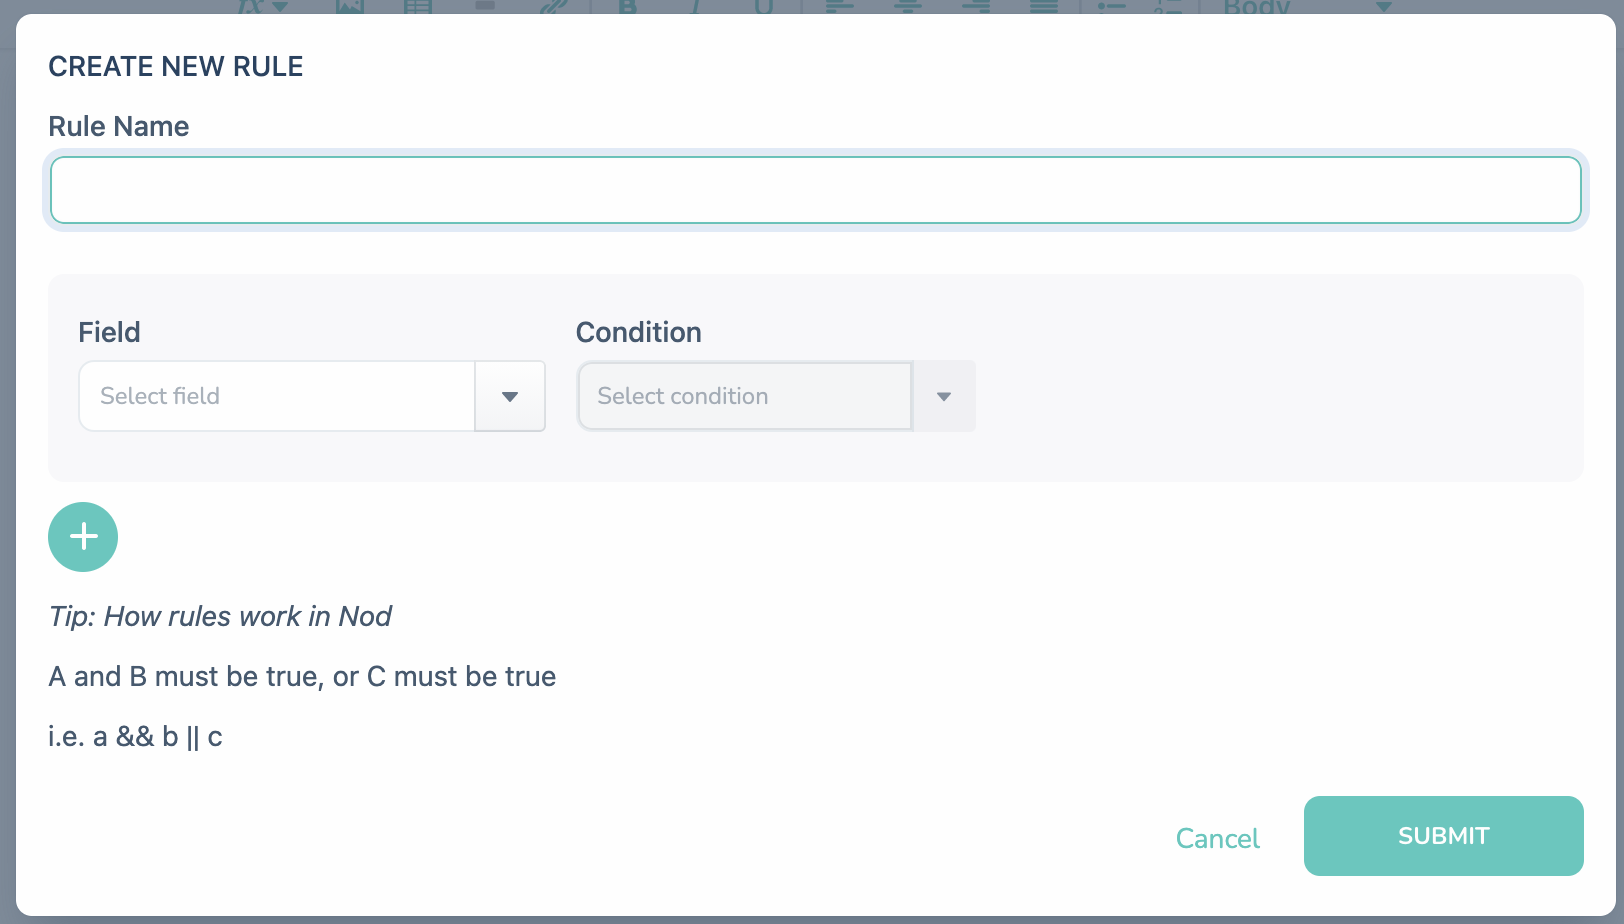
3. Configuring your rule to suit the needs of your templates will take time.
If content assets are only to appear in certain instances, rules you have set up in Nod will automatically edit so this happens. You can create different content assets for different scenarios, and program them to appear according to the rules you have set. For example, you can have a separate cover page for a client-only SOA and a completely different one for a client-and-partner.
These rules will trigger content asset behaviour based on information you enter into the data field when creating the document.
An example of this is if you need a cover page to appear in the document in the instance of advising a couple. A way you can automate this using a rule is to set the asset to appear if:
Client First Name is not empty and Partner First Name is not empty.
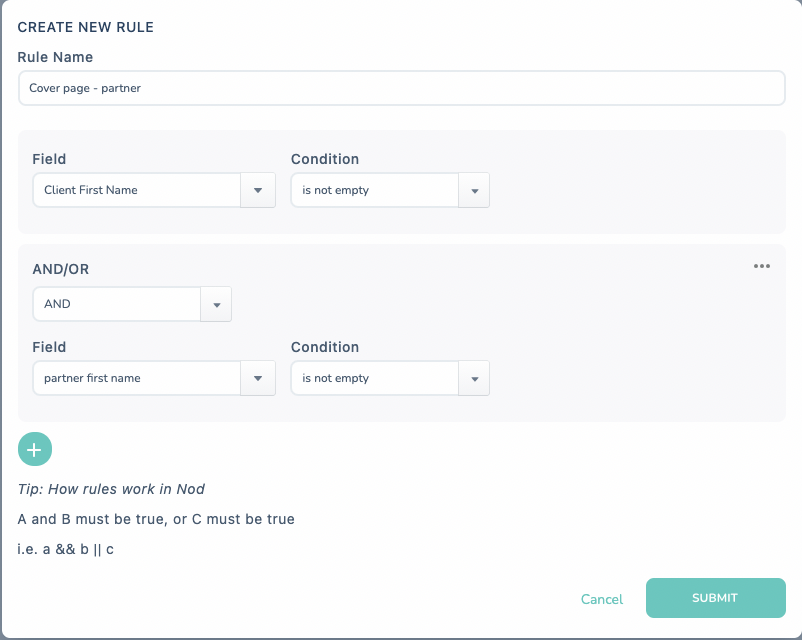
Once you get to the document creation stage, the document then will automatically include the asset if both fields for 'Client First Name' and 'Partner First Name' are assigned values.
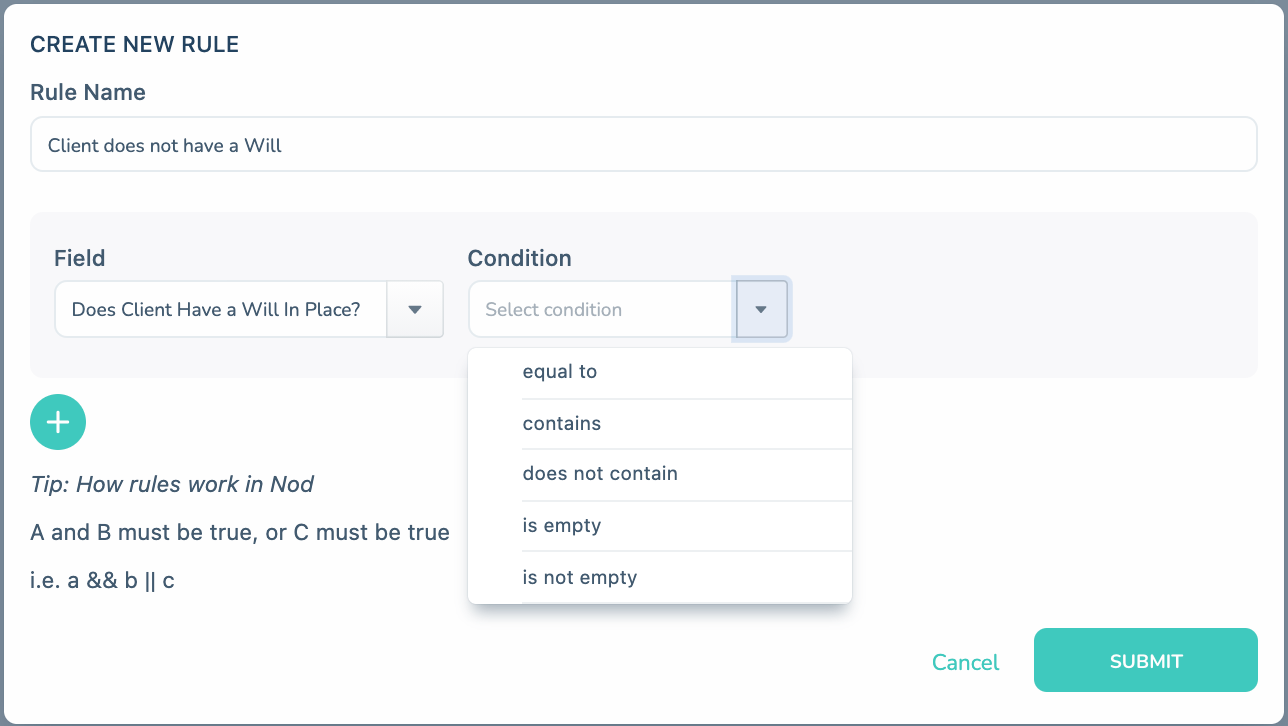
Different field types have different conditions you can apply while creating the rule:
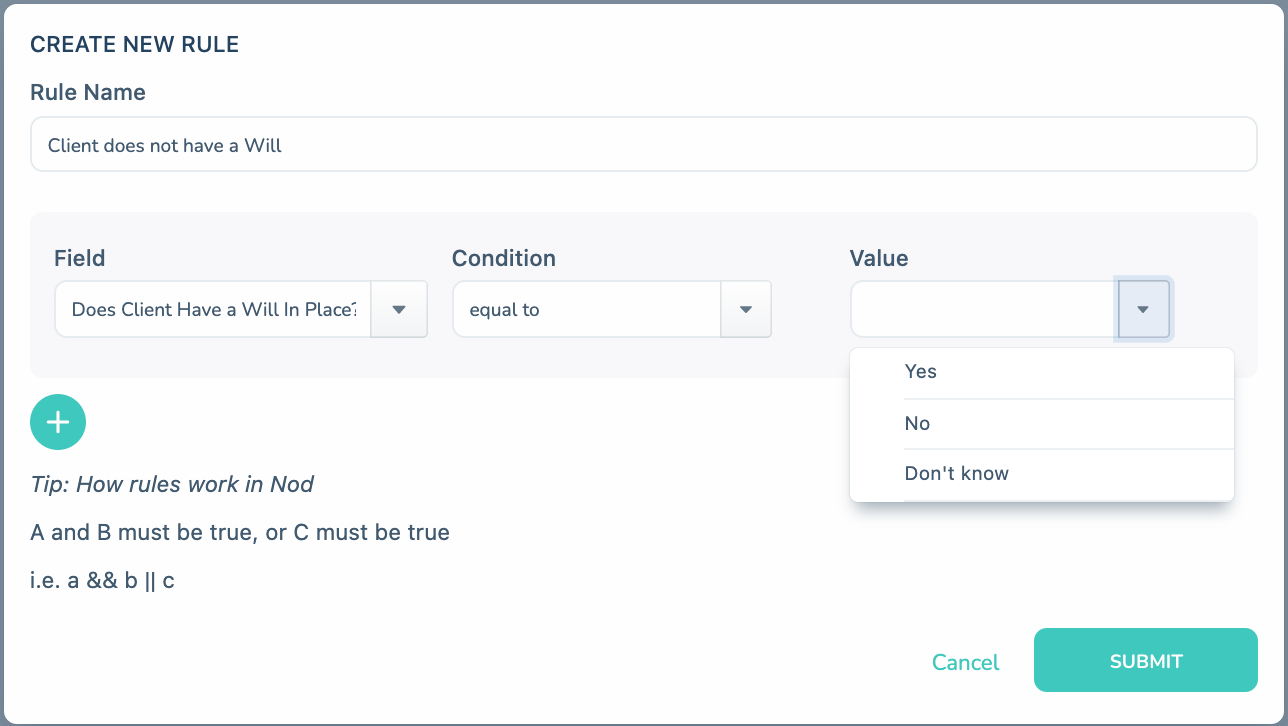
1. Equal to — if the data in the field equals a specific value.
This generally applies to a drop-down field. Options you have assigned to a field will present as options to select when you are creating the rule.
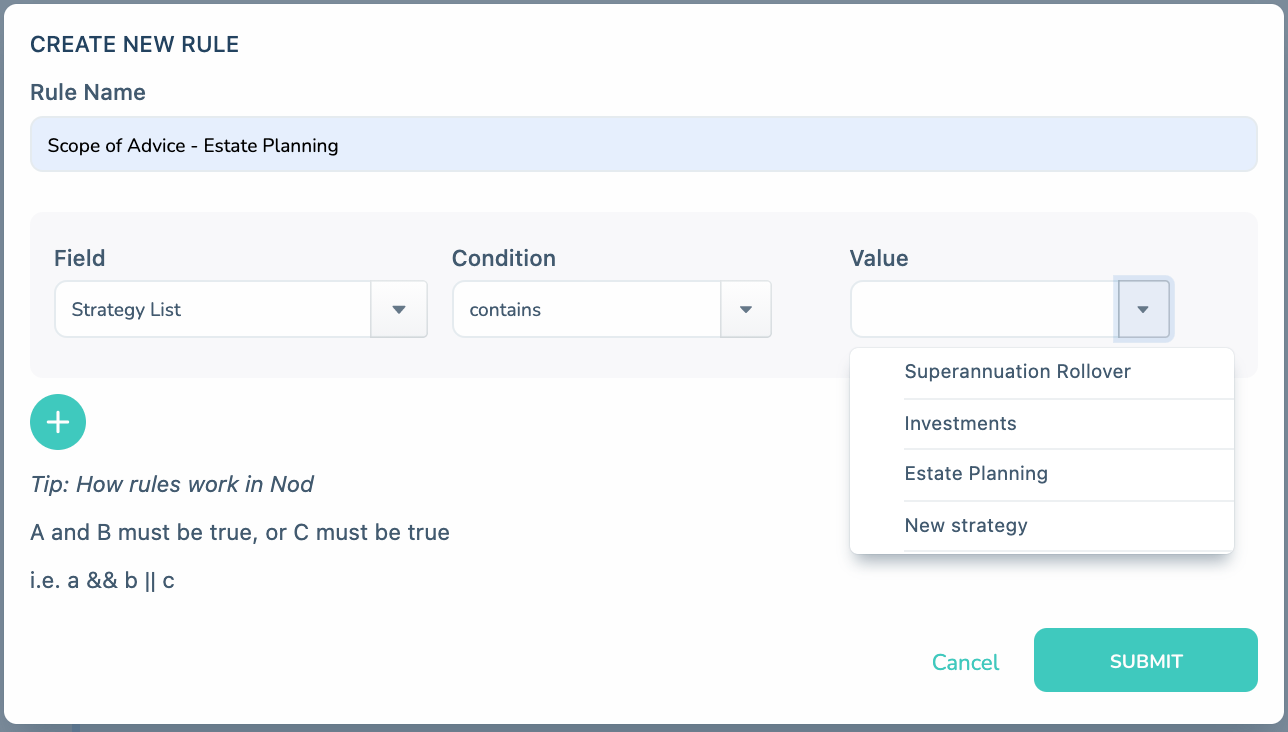
2. Contains — if the data in the field includes a specific value.
This generally applies to a multiple-choice field, such as a Strategy list. Options you have assigned to a field will present as options to select when you are creating the rule. This can also be used for Short Text fields, for example, Product Name. If the Product Name contains 'XXX' provider, an asset with information on the provider will appear.
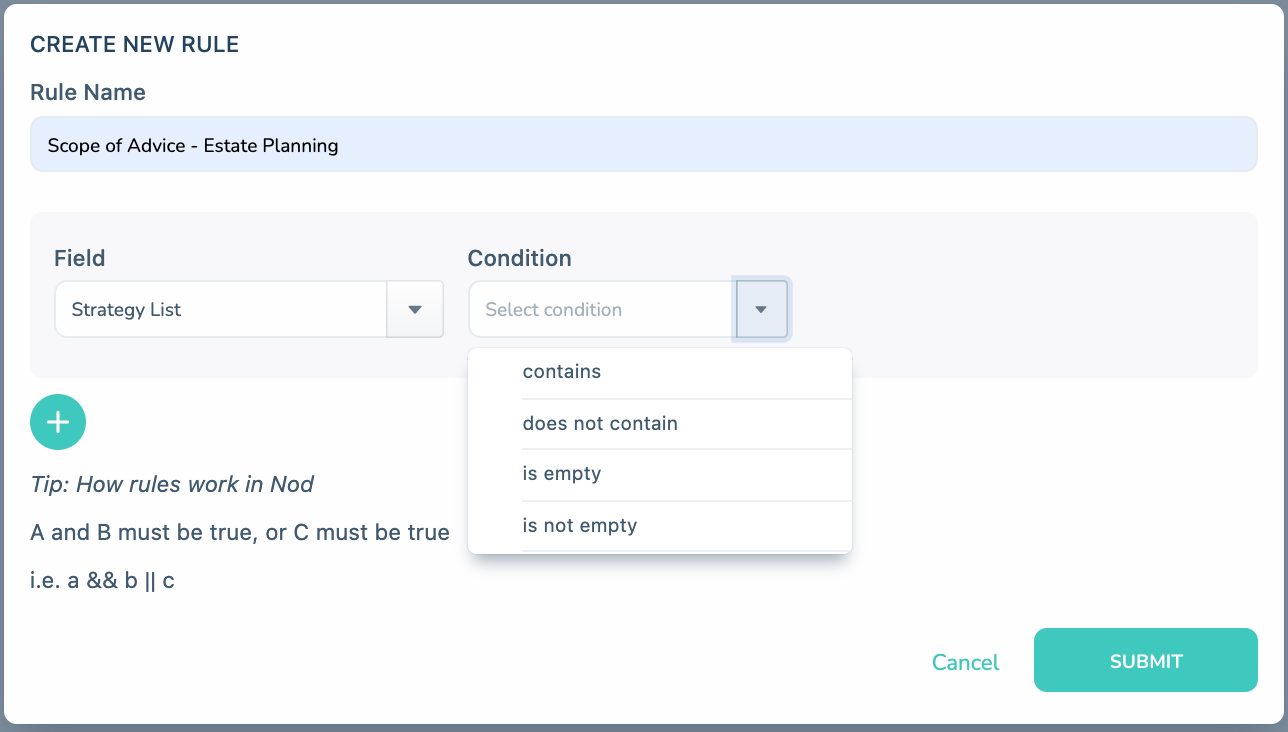
3. Does not contain — if the data in the field does not contain a specific value.
This way you can make remove assets you don't need unless a certain value is true.
.png)
4. Is empty - if the data in the field has no value

5. Is not empty - if there is a value in the field

These are, for example, useful when identifying which elements of a document are relevant to a single client, versus a couple, or if the client has a dependent. Elements of a SOA will alter based on the client having a dependent, however if they don't you can bypass these elements of the document altogether.
If you are applying a rule for a numerical field, there are additional conditions that you can apply to the rule.
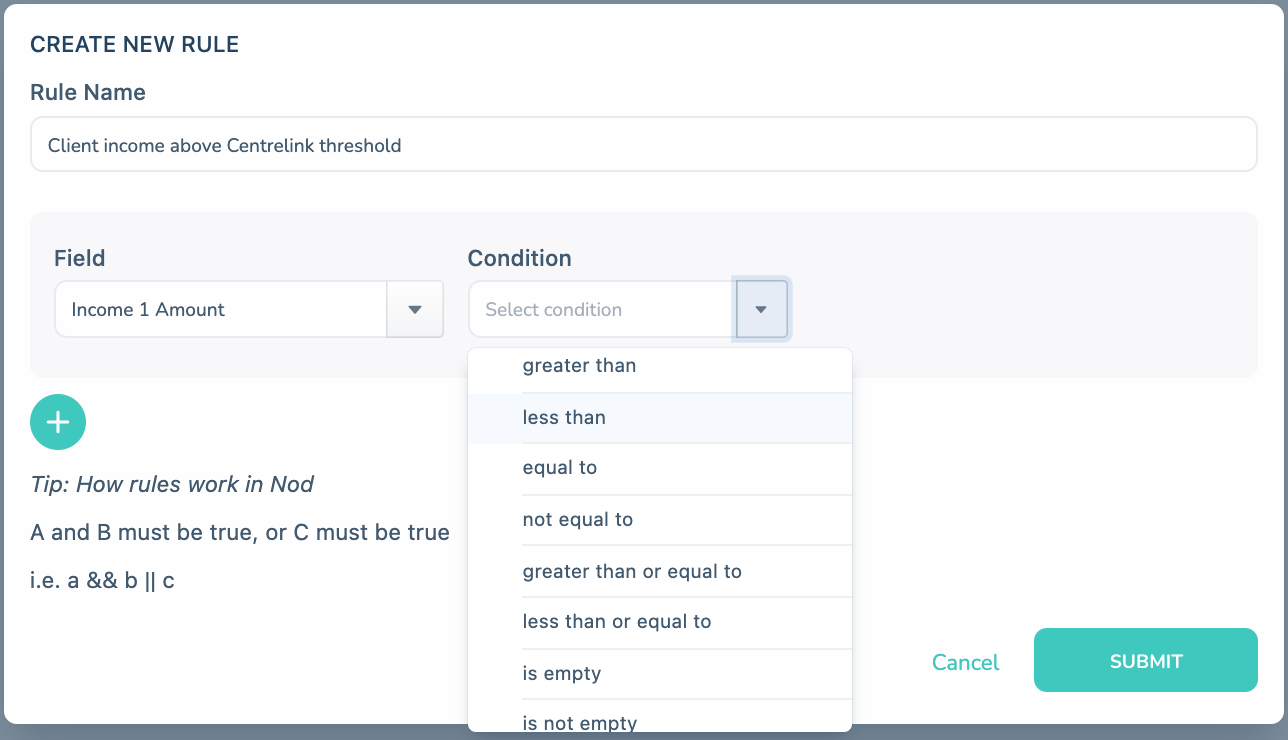

You can add up to three levels of rules per asset. This way you can layer the levels of control over each asset, and allow them to appear only in the instance of intersecting rules.
Once you have created a rule, note it can only be edited and not deleted.
It's always a good idea to test once you've set up a new rule. Make sure the content is doing what it's expected to, to avoid any nasty surprises at the document creation stage.
If you have assigned a rule to a field that exists already in a document, that content asset will behave according to the rule for any future document you create.


.png)

